Adding runnable Python scripts to React apps
I’m excited to share a tool that will change how you integrate Python into your React applications—react-py. If you’ve ever needed to add Python scripts directly into your React app, react-py is here to make that as seamless as possible. The project can be found on GitHub.

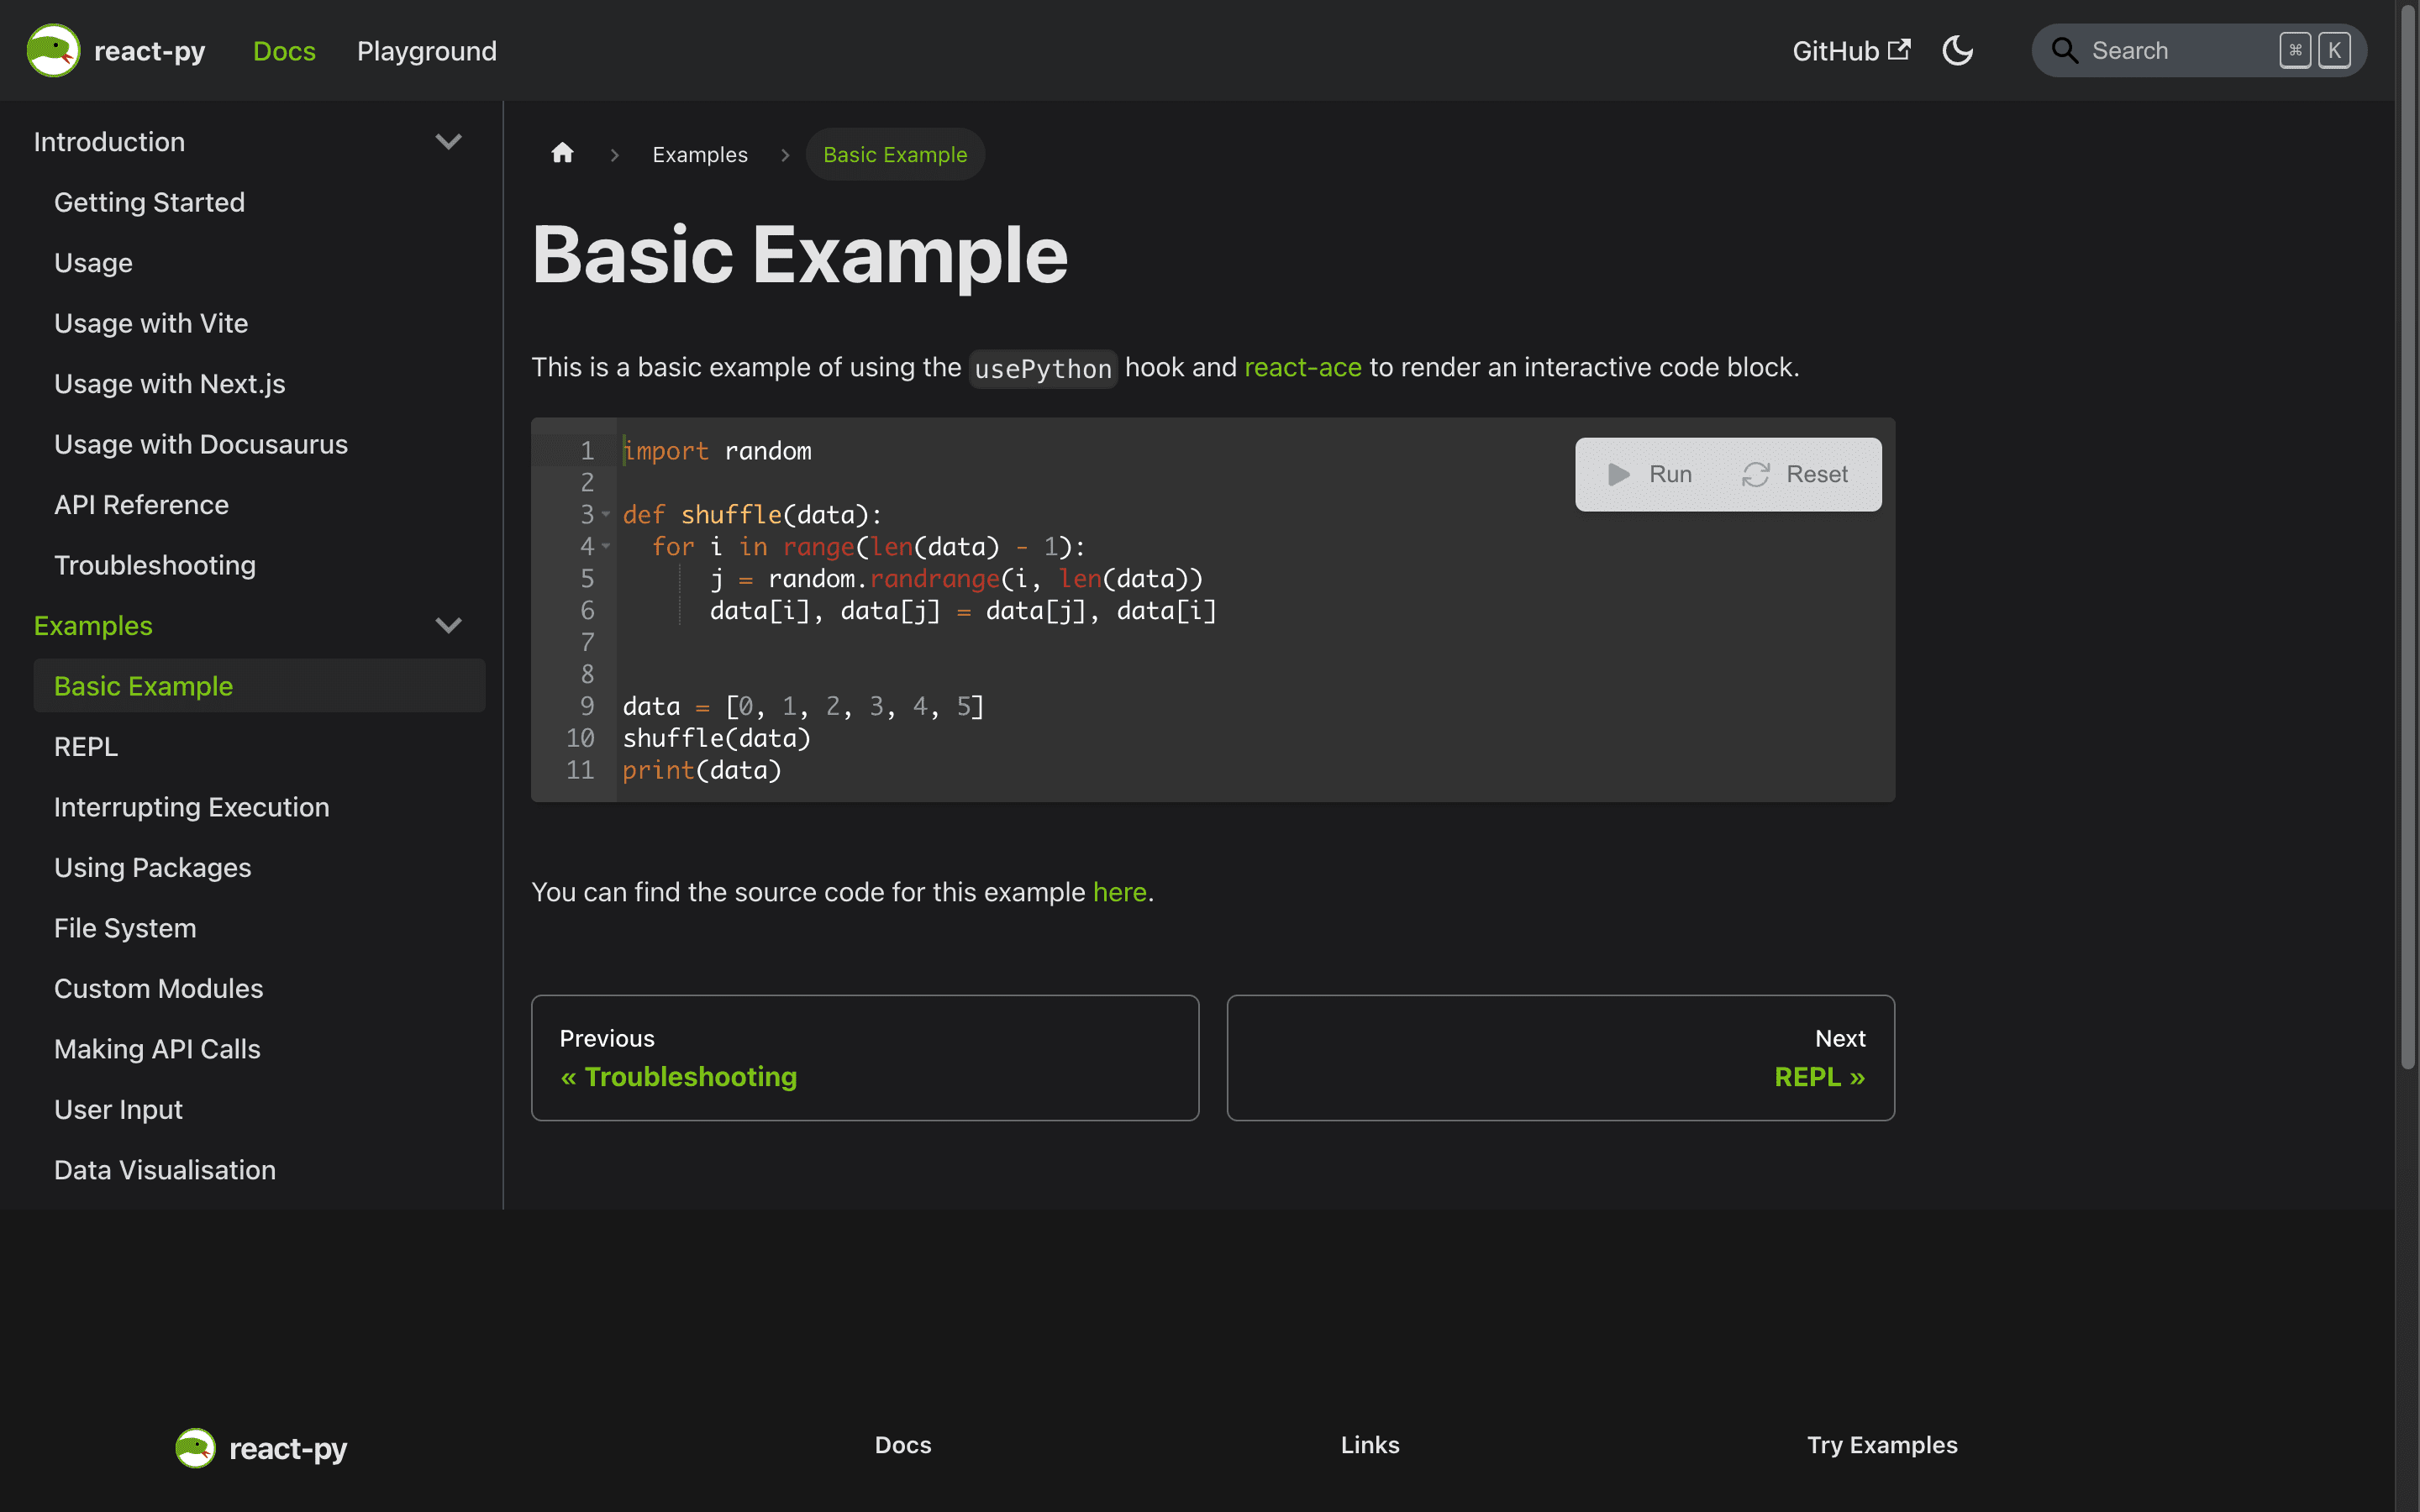
With react-py, you can embed runnable Python code right into your React components. It’s great for creating interactive Python tutorials, performing computations directly in the frontend, or adding a little Pythonic magic to your app. Let’s dive in!
Why react-py?
Before jumping into the details, you might be wondering—why would you want to execute Python in a React app? Here are a few scenarios:
- Educational Apps: If you’re building a platform for teaching Python, react-py allows students to write and run Python code snippets directly in the browser.
- Data Visualization: Use Python’s powerful data processing libraries alongside React’s frontend capabilities.
- Prototyping: Quickly prototype and test Python code without needing a backend server.
react-py leverages Pyodide, a Python distribution for the browser and Node.js based on WebAssembly, to run Python in the browser. This means your users won’t need any additional setup to run Python—just a browser and your app!
Getting Started with react-py
- Install the Package
You can add react-py to your React project by running:
npm install react-py
- Basic setup
Here’s a simple example to get you started. First, wrap your app in a PythonProvider component:
import { PythonProvider } from 'react-py'

function App() {
  return (
    // Add the provider to your app
    <PythonProvider>
      <Codeblock />
    </PythonProvider>
  )
}

render(<App />, document.getElementById('root'))
- Running Python Code
Next, we’ll create the CodeBlock component that allows users to input Python code and see the output:
import { useState } from 'react'
import { usePython } from 'react-py'

function Codeblock() {
  const [input, setInput] = useState('')

  // Use the usePython hook to run code and access both stdout and stderr
  const { runPython, stdout, stderr, isLoading, isRunning } = usePython()

  return (
    <>
      {isLoading ? <p>Loading...</p> : <p>Ready!</p>}
      <form>
        <textarea
          onChange={(e) => setInput(e.target.value)}
          placeholder="Enter your code here"
        />
        <input
          type="submit"
          value={!isRunning ? 'Run' : 'Running...'}
          disabled={isLoading || isRunning}
          onClick={(e) => {
            e.preventDefault()
            runPython(input)
          }}
        />
      </form>
      <p>Output</p>
      <pre>
        <code>{stdout}</code>
      </pre>
      <p>Error</p>
      <pre>
        <code>{stderr}</code>
      </pre>
    </>
  )
}
In this example, we’re using the usePython hook—a custom hook provided by react-py—to manage the execution of Python code. Here’s a breakdown of what’s happening:
- usePython Hook: This hook gives you the
runPythonfunction and other methods to interact with the Python runtime. - runPython Function: It takes Python code as input, executes it, and updates the
stdoutandstderrstates accordingly. - Loading and Running States: The
isLoadingandisRunningstates help manage the UI based on the current state of the Python runtime.
Advanced Usage
For more advanced use cases, react-py provides additional hooks and components to interact with the Python runtime. View the full documentation on the react-py website.
Conclusion
With react-py, integrating Python scripts into your React app has never been easier. Whether you’re building an educational platform, prototyping complex calculations, or just want to add Python’s power to your frontend, react-py has got you covered.
By combining the flexibility of React with the power of Python, you can unlock new possibilities in web development. And the best part? It’s all running directly in the browser, without the need for a backend server.